4.1. General
The figure below shows the General section of the World Editor:
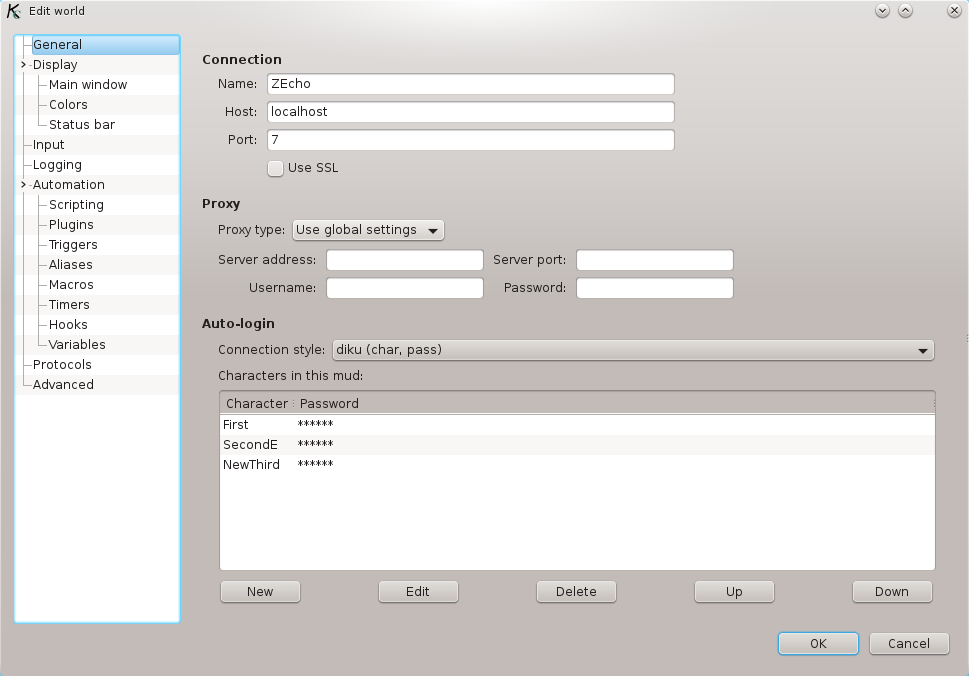
The first section, Connection, contains parameters that specify how to connect to the MUD:
Name: this specifies the name that will be shown in the World Selector, and also in the tab in the main window. It can be anything you want, that helps you identify the MUD.
Host: the host to connect to. It can be entered either as a name or as a numeric IP.
Port: the port to connect to.
Use SSL: if this is checked, the communication with the MUD will be encrypted and thus immune to casual eavesdropping. However, the MUD server must support this, if you try to connect using SSL to a server that does not understand it, the connection will fail.
Note: although the connection will be encrypted if the connection uses SSL, KildClient does not attempt any kind of certificate verification, so you must not assume that the connection is authenticated. You can, however, see some information on the certificate in the Statistics dialog (see Section 6.1.8, “Statistics”).
The second second, Proxy allows you to specify a proxy server to use when connecting to the MUD. By default, Worlds use the global proxy settings configured in the Preferences dialog (see Section 5.4, “Proxy”). But you can override the default settings for individual worlds.
Select No proxy if there is a default proxy setting but you want this world to connect directly to the MUD server. Or select SOCKS4, SOCKS5 or HTTP to specify a proxy server. In this case, provide the proxy server hostname or IP address and the port to connect to. If the proxy requires authentication, supply the credentials in the Username and Password fields.
The third section, Auto-login, contains the parameters that you need to configure if you want KildClient to login automatically to the MUD for you. You can associate several characters with a World, and then when you can select which character you use to login to the MUD, as explained in Section 3.1, “Connecting to a MUD”.
First, select how the login will be made in Connection Style. If this is set to "No auto-login", no attempt will be made to login automatically. This is the default.
There are two other options: "Diku", for
Diku-based mud servers, which prompt you for the character name and
then the password; and "lp" for lp-based mud
servers, in which you have to type connect
followed by the character name and password.
If neither of these options apply to your MUD, you should disable auto-login here, but you can still use a hook to send commands just after you connect. See Chapter 12, Hooks.
Next follows a list of all the characters that you have defined. Each character is associated with a password, however the password is not displayed for security reasons.
To add a new character, press Add and enter the character's name and password in the window that appears, then press OK. The new character will be added to the list. To edit an existing character, select it and press the Edit button. To remove a character information, select it and press Delete. Finally, to control the order that the characters are displayed, use the Up and Down buttons. Note that the first character is considered the default and is the one used if you connect using the main entry for that World.